Home Assistant on wheels
Introduction
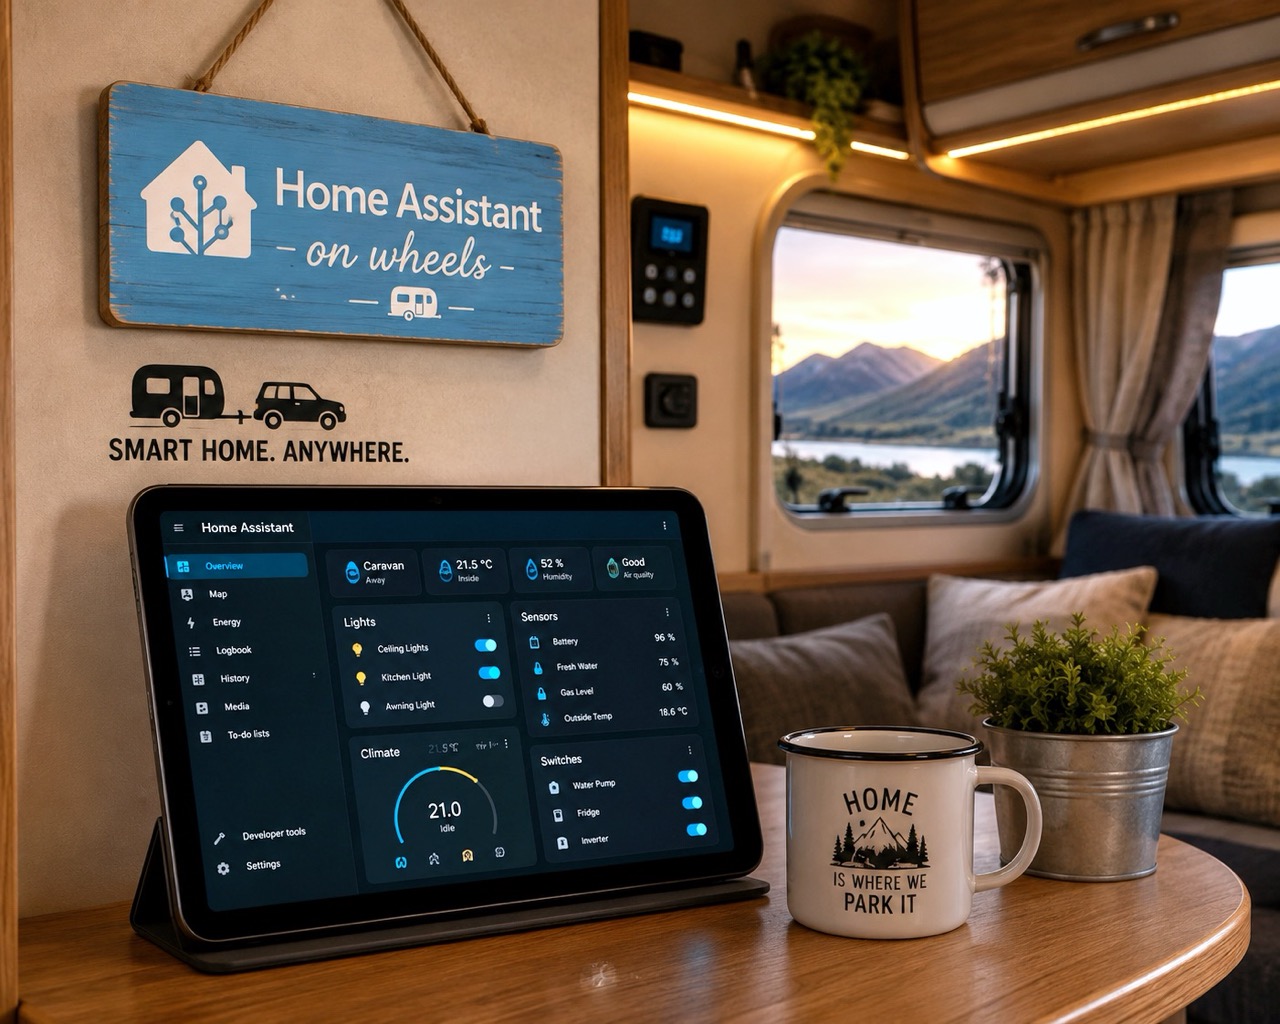
Soo… Our 20 year old caravan has Home Assistant now… Why, you ask? Because it can :). There were some actual goals I had. Only one of them slightly serious, but goals nonetheless:
- Provide “internet like home” where all devices like an e-reader, phone, Nintendo Switch, etc. just connect to a WiFi network having the same SSID and password as home, and all the traffic gets sent back home over VPN. Also, I would access all internal services (hypervisors, NAS, …) like I do when I’m home.
- Provide some security against attempts to get into the caravan when we’re away from it.
- Track and improve sleeping conditions by monitoring at least CO2 levels at night.
Yes, all of these are achievable by separate devices and without running Home Assistant, but what fun is that when you can also combine them all. Also, I can claim the caravan has IPv6 now :P. Pub quiz: Which one is actually older?
The use case here is mostly family holidays a few times a year. Some additional context:
- The caravan is not meant to function off-grid. All functionality can depend on it being plugged into a 230V source, so no need for a power station, solar panels, or some Victron setup.
- For the one-off 20 euros or so that it costs to buy an internet bundle for 30 days or so, it is perfectly reasonable to have some features depend on an internet connection. Also, we won’t go camping in remote areas.
The core network
For the core network, I needed something to create multiple networks and enforce some separation between them, handle captive portals, set up a VPN, etc. Basically a travel router, but with some more features than the standard ones. I’d love to use a UniFi setup like I have at home, but handling captive portals doesn’t work well for them. I’m also a bit space and weight constrained and a full ethernet setup is just way overkill, so I went for travel router options.
For the UniFi-minded you now have a UniFi Travel Router, and the alternative is GL.iNet which seems to be the go-to brand for travel routers. There is Starlink, but that’s too easy.
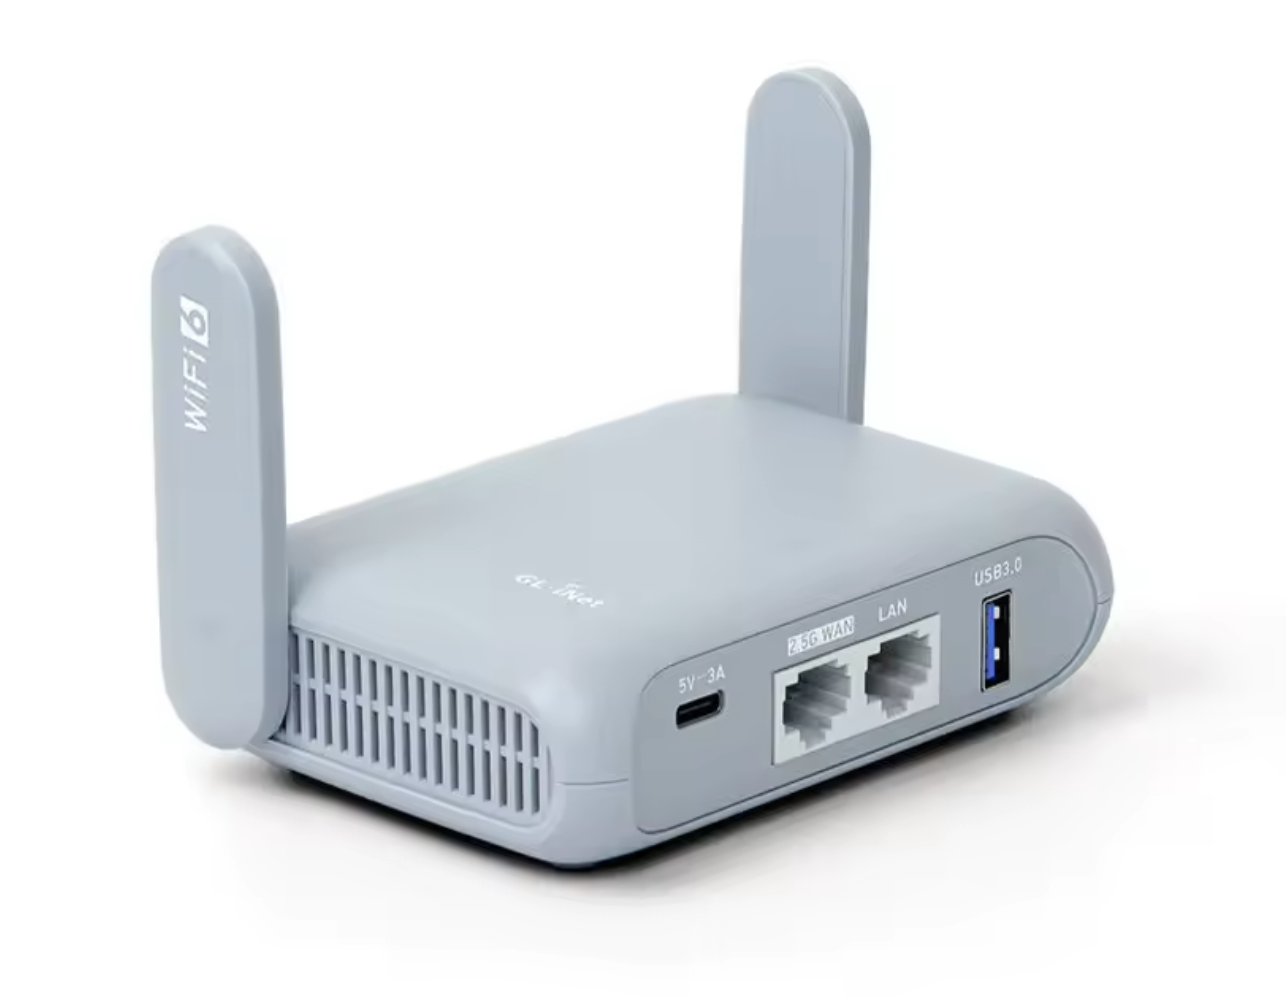
I tried the UniFi Travel Router, but it lacked multiple SSIDs at the time and still has issues with the VPN kill switch and captive portals. GL.iNet has more years of experience with building travel routers and specifically features required for that use case. It is OpenWRT based (with LuCI being accessible) and supports automatically switching between multiple WANs. As a cherry on the top it supports policy based routing, which allows you to send traffic for some clients but not all over the VPN.
 The travel router joins a camping WiFi as client and handles the captive portal. It can do this on the same WiFi SSID, but it’s safer to create two separate ones: one for handling the captive portal and the other named the same as my home network, on which the internet disconnects when the VPN drops. It also has a 4G dongle which it uses when it loses WiFi, the captive portal activates again, etc. I’m using the SIMPoYo USB 4G modem sold by GL.iNet for only 30 euro, which you plug into a USB port of the router.
There is an interesting case to handle when the camping is either very limited on data usage or non-existent at all and I have to rely on 4G all the time. In those cases, I only want the caravan to use the 4G (as it uses barely any bandwidth), but all other devices like phones to use their own mobile internet connection. Accessing Home Assistant could then be either done via the internet or connected to the WiFi, but not having internet. This may require some further tuning in the future.
Running Home Assistant

I’ve opted for a HP T630 Thin Client. Like the Home Assistant Green (which I would have loved to use!) it is very power efficient and passively cooled, and thus completely quiet. But this thin client is half the price and better specced.
I’ve just made sure the BIOS is up to date, set it to power on when power is restored and installed the OS. That’s about it. The only thing I miss so far is the ability to shut it down with a physical button, as the OS doesn’t seem to support ACPI.
Networking Home Assistant
There is the challenge of me wanting to be able to place the GL.iNet router freely (preferably high) to be able to connect best to the camping WiFi, while also tucking the HP Thin Client away somewhere in a closet or storage area (which generally are low places). Ideally I would run an ethernet cable, but that’s a challenge in the caravan to do nicely with all those shelves and closets.
So, that means a wireless connection between the thin client and the travel router. Which can be done, but Home Assistant really prefers an ethernet connection. So, I opted for another OpenWRT router! This time one I had lying around: an old KPN Experia a colleague of mine flashed with OpenWRT for me. This functions as a WiFi client and connects to the GL.iNet router, while on the LAN side it has a short ethernet cable to the HP thin client.
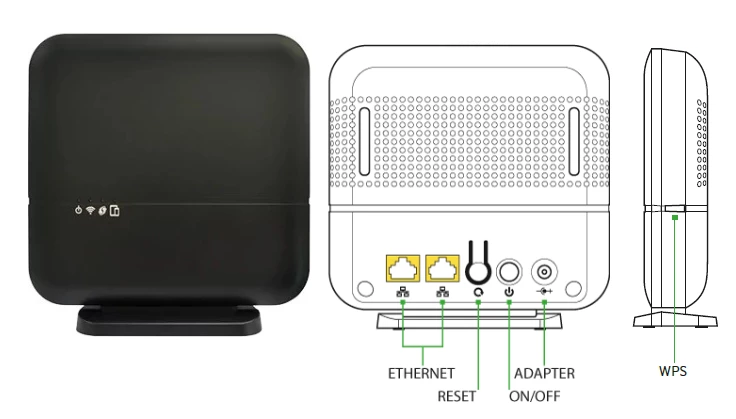
Yes, that’s another NAT, but that doesn’t really matter, which I’ll get into more later when discussing how I’m accessing Home Assistant. One nice thing this allows me to do is that it creates another separate SSID I can connect my phone to when setting up anything Thread or Home Assistant related, and it creates a separate network and IP subnet for anything home automation related (think ESPHome in the future, IPv6 for Thread/Matter, etc.). For now I’ve set up Home Assistant as DMZ for it, so any traffic on its WAN is sent to Home Assistant. I also set up a fixed IP address in the GL.iNet router and a host entry for ca (Caravan Assistant?), which allows me to access Home Assistant at http://ca:8123 from the GL.iNet router.
It connects as a client to the SSID I also use at home, so I can either park the caravan at home, or power up the travel router when abroad.
Network overview
Following it all still? Me neither. Time for an overview of SSIDs and the network.
- CA-AP: SSID giving access to the dedicated home automation subnet
- Home: My main WiFi SSID at home, but while abroad created by the travel router. Devices connect as usual as if they’re at home. Also used by the KPN Repeater to connect to as a client.
- Captive portal: An SSID only used for when handling the captive portal on the travel router on a camping WiFi. Once handled, I connect my phone back to the Home WiFi network.
Travel Router"] KPN["KPN Repeater
(OpenWRT)"] T630["HP Thin Client
(Home Assistant)"] CAAP(("CA-AP SSID
(Automation)")) CaptiveSSID((Captive Portal
SSID)) end subgraph Home HomeUnifi["Unifi Home Setup"] end CampingSSID(("Camping
Wifi")) 4G(("4G")) %% WiFi networks creations MainSSID --"Hosted by"--> GLI MainSSID --"Hosted by"--> HomeUnifi CaptiveSSID --"Hosted by"--> GLI CAAP --"Hosted by"--> KPN ClientDevices["Client devices
(Phone/laptop/...)"] %% WiFi client connections ClientDevices --"Connects to"--> MainSSID KPN --"Connects to"--> MainSSID T630 --"Ethernet"--> KPN GLI --"Connects to"--> CampingSSID GLI --"Connects to"--> 4G
The “Home” WiFi SSID basically always has an internet connection, either through the camping WiFi by handling the captive portal or by using a connected 4G dongle.
Separating the automation network from the travel router also allows me to bring the travel router when going on vacation without the caravan.
Accessing Home Assistant
For local access, I already have the following, which allows me to access Home Assistant using http://ca:8123 on both the “CA-AP” and “Home” SSIDs:
- A static IP reservation and host record for
caon the travel router for the KPN OpenWRT router’s WAN interface - Home Assistant set as DMZ on the KPN OpenWRT router
- Named the Home Assistant instance
ca.
But of course I also want to be able to remotely access the Home Assistant instance when I’m away from the caravan. I want to do that without having to reconfigure a bunch of things every time we change locations. I also don’t want to rely on port-forwards or even having an “open” internet connection to the outside world.
Everything is already pretty over-engineered and against best practices (double or even triple NAT’ing anyone?). So, time to curse it by layering the next thing on top of it: An overlay network! Hamachi kuch… Tailscale to the rescue!
An overlay network is a way for multiple nodes which otherwise cannot directly reach each other to obtain an additional private IP address, and through the magic of automatically setting up a full mesh of VPN tunnels, they can reach each other! I won’t go into the details of how it punches through NAT when two nodes both are behind NAT, although it is a really good read! But for the purposes of this article: with the exception of some very rare cases, it just works. Also, although I chose Tailscale, don’t worry about becoming dependent on it for the overlay network concept, as there is already an open source implementation of the control server you can use if you want (which is openly supported by their client). Also, while writing this article, I discovered NetBird, which is basically the exact same thing as Tailscale, but fully open source and properly supports self-hosting. I’ll look into moving to NetBird in the future.
It is as easy as installing it as an addon in Home Assistant (and enabling it on the travel router for good measure) to have any two devices accessible in a consistent way.
with access to internet
in some way] %% TS TR -.-> TS CA -.-> TS Client -.-> TS
I don’t have Tailscale running on my phone all the time, and also don’t expect it to even be installed on my partner’s phone. I only use Tailscale for internal services communication (like Synology NASes communicating with each other). Everything client-facing is handled by a reverse proxy… running at home. But since I can now access that Home Assistant instance consistently over Tailscale, I can have that reverse proxy connect to it!
Yes, Tailscale has an included reverse proxy service. But with any solution, you should not become too dependent on its branded additional features like the reverse proxy (or the DNS, or the SSH functionality they have). Both Tailscale and NetBird happen to support inbound traffic through their own reverse proxy solutions, but the core functionality is that it provides an overlay network. It isn’t guaranteed the next service you replace it with in the future has that additional feature. Thus, for providing reverse proxy functionality, I will not be relying on Tailscale, but run my own service. That can be NGINX, Traefik, or whatever is the popular option now.
Whenever the caravan doesn’t have an internet connection of its own, you can also connect to its WiFi and reach it on the local network. The Home Assistant mobile app has its local URL set to http://ca:8123, and its remote URL to the reverse proxy entry.
Mind you, you don’t actually need all this overlay and reverse proxy madness. You can use Nabu Casa’s remote access feature. I just think there is value in doing this yourself.
Home Automation networks
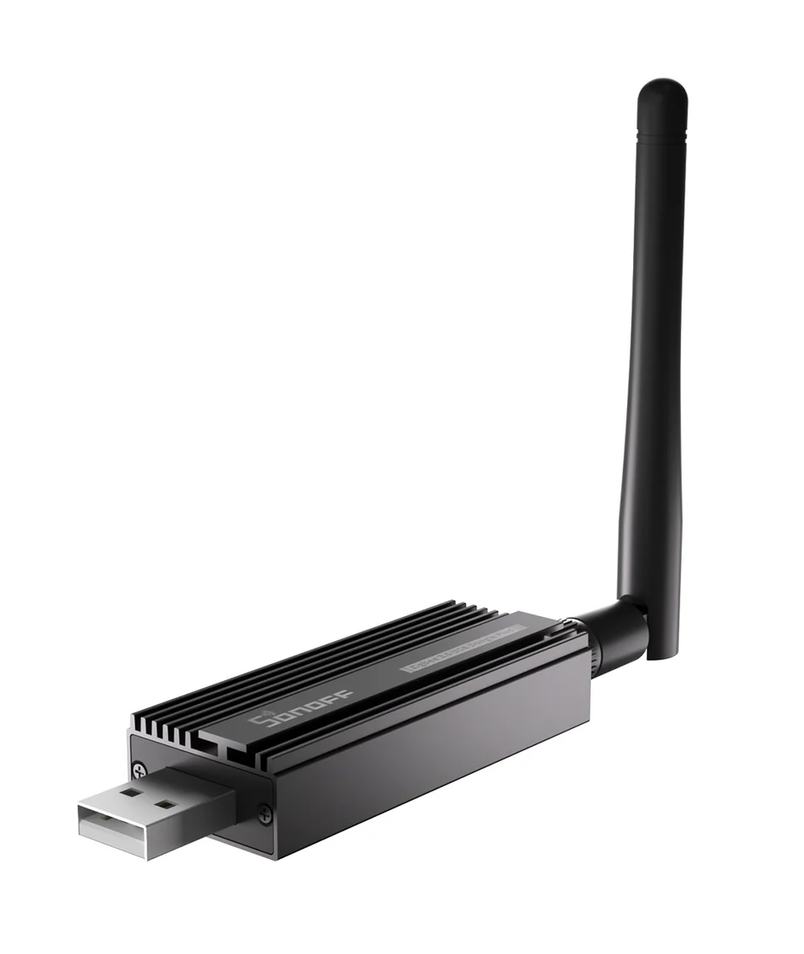
For now I use 2 networks. Zigbee and Matter-over-Thread. For each one I use the Sonoff Zigbee 3.0 USB Dongle-E. One flashed with Zigbee firmware, and the other with Thread firmware. For Zigbee I use Zigbee2MQTT, and for Matter-over-Thread I use the “Matter server” and “OpenThread Border Router” addons both included in Home Assistant.
Side mission: LoRa connectivity using MeshCore
While I’ve put some effort into getting a pretty reliable internet connection in the caravan, there are other methods of communicating with the caravan without requiring internet. For example MeshCore over LoRa.
This could be a whole article on its own, but the short version is: It’s a mesh network of repeaters which can transmit over multiple kilometers with very low power, and of course Home Assistant has an integration for it. Coverage is provided by hobbyists and is pretty good in the Netherlands and surroundings.

Dragging a SenseCAP T1000-E along with you allows your phone to communicate over that network. Home Assistant can use, for example, a Heltec V4 connected via USB to communicate on that network. With just those two and maybe a repeater in your car, you can get a text message between those two over multiple kilometers. Using community-run repeaters, you can get tens to hundreds of kilometers.
Actual use cases
Ahh… Now we’re getting to the (somewhat) useful bits. Let’s go into some of the cases I actually use all of this craziness for.
Lighting
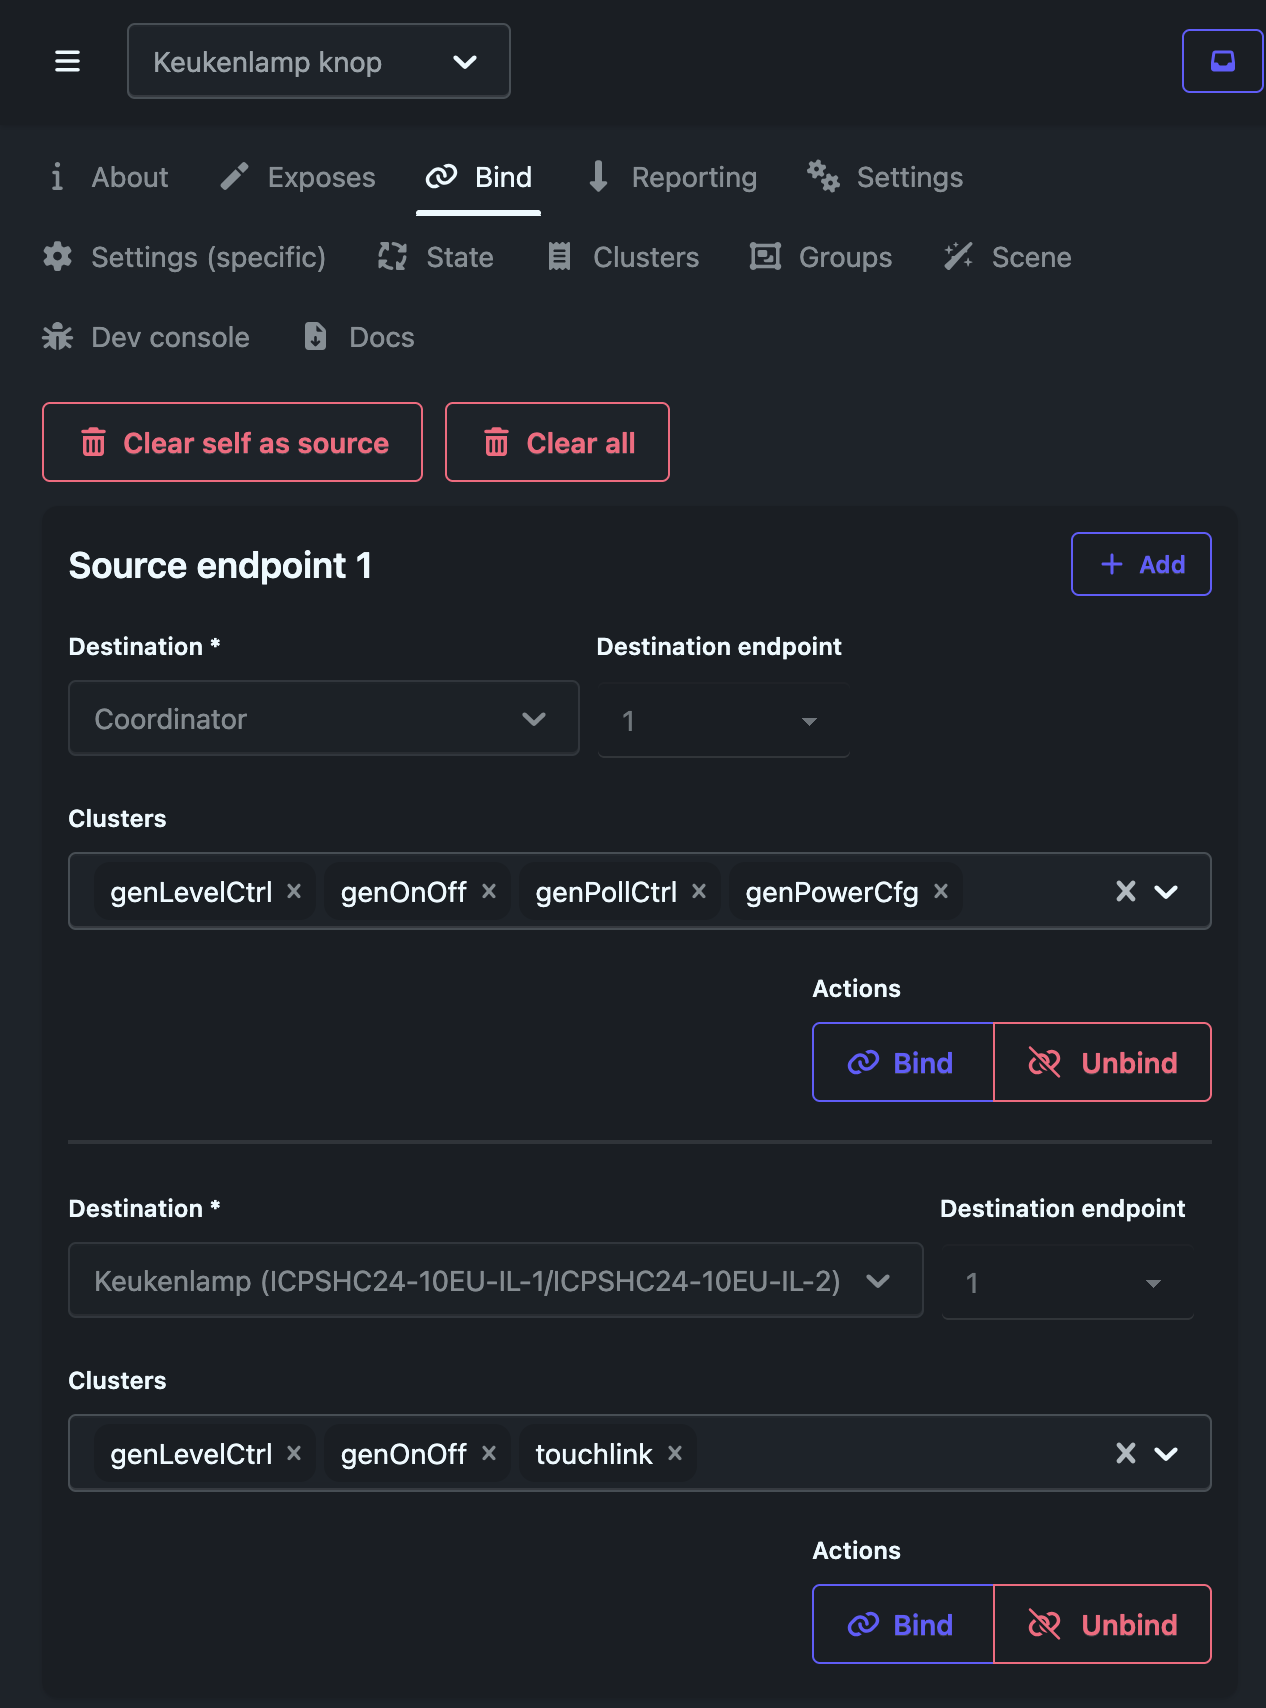 I’ve installed an IKEA LED strip in the kitchen with a Tradfri dimmer and remote, because it emits way nicer light than the previous single bright spot. Also, it no longer burns your fingers if you accidentally touch it.
You can join the remote either via Light Link directly to the lamp, or join it to the Zigbee coordinator. The second has the benefit of reacting to button presses in Home Assistant, but also has the downside of requiring the coordinator and Zigbee stack to be running to work. Unless… you set up bindings! Set this up in the Zigbee2MQTT interface for the remote, and it will work again when the Zigbee stack is down.
Fridge monitoring
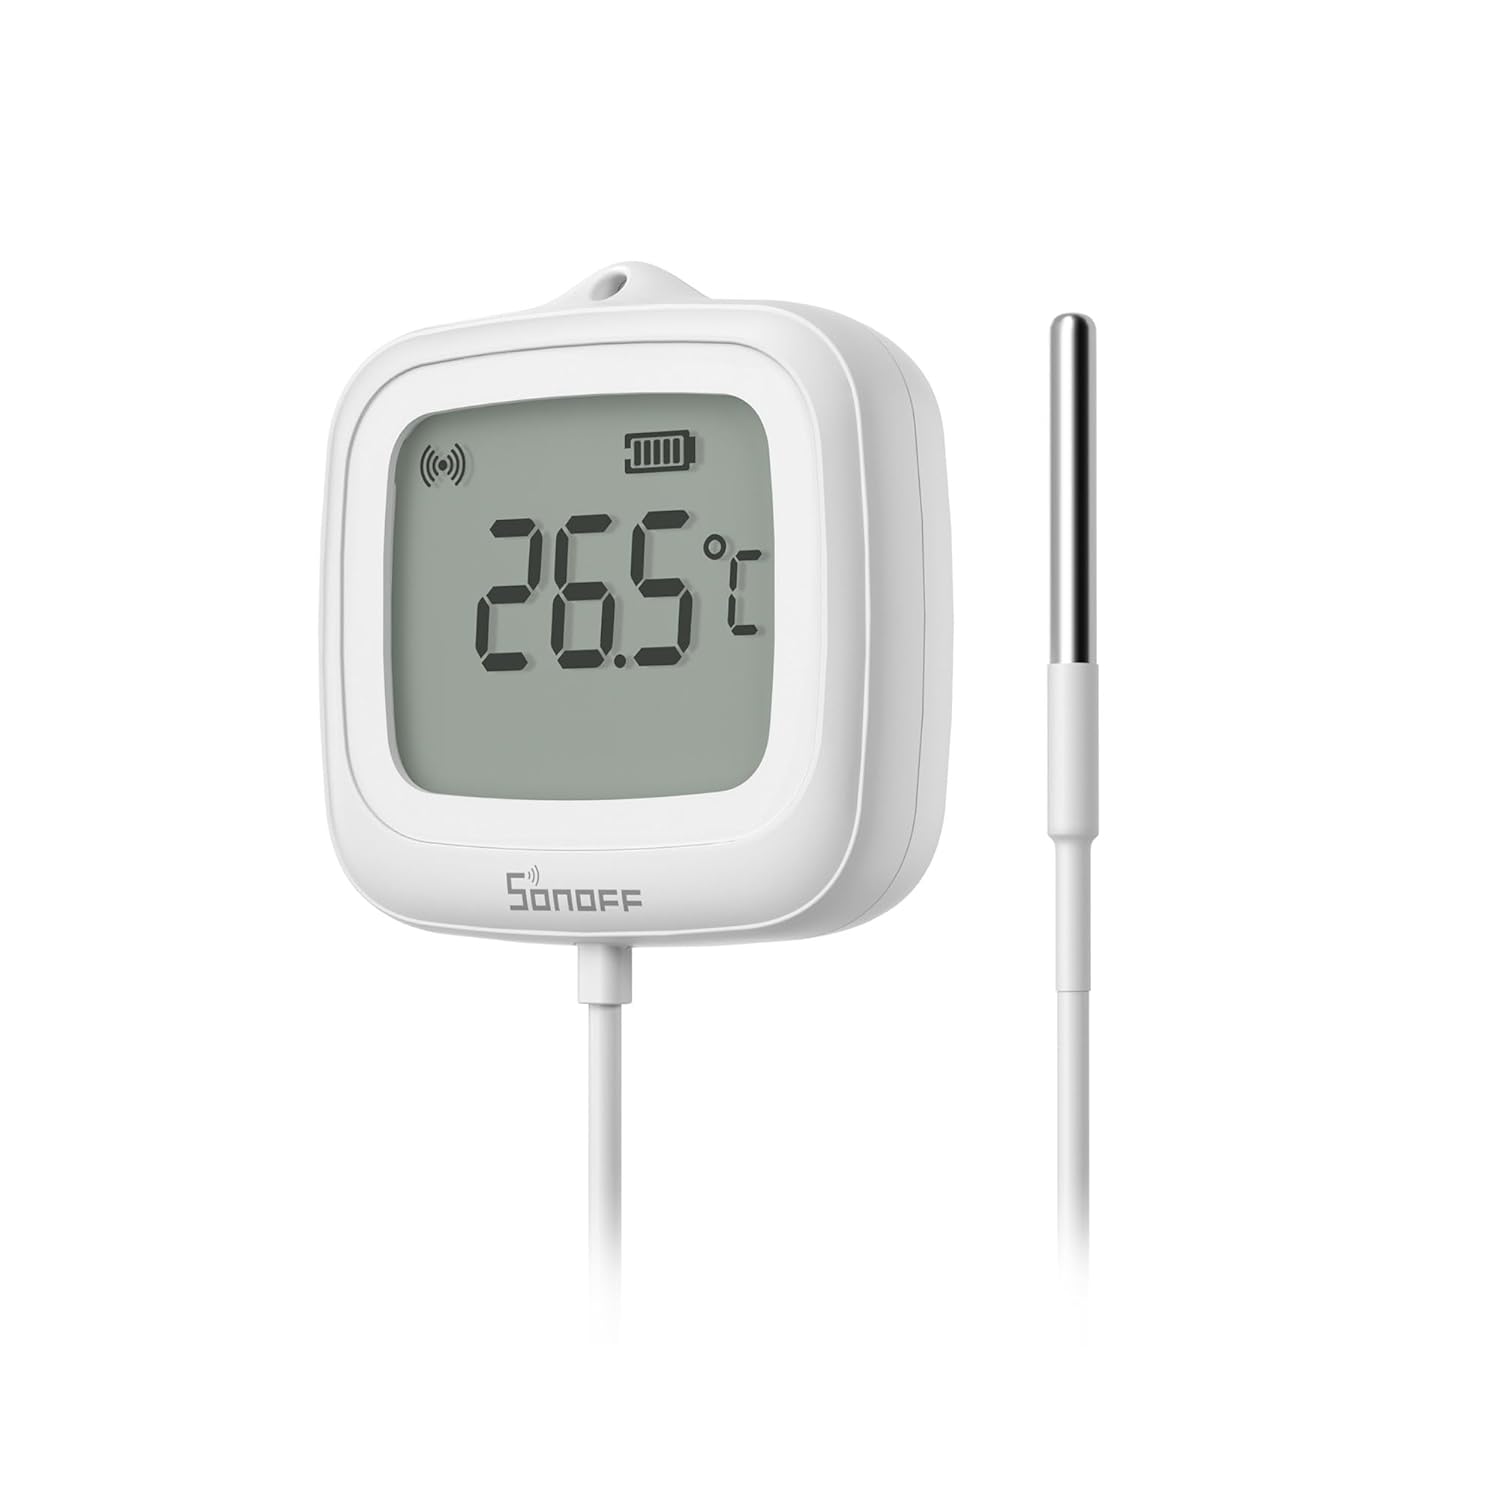 Putting a cooler box in an enclosed awning when it’s 30°C+ outside makes it struggle to keep stuff cool inside. Also, there is a freezer compartment in the fridge inside the caravan, and you want to make sure the popsicles stay frozen.
There are really cool temperature sensors from Sonoff, like the SNZB-02LD, which have a separate temperature sensor on a wire. Also, the display stays easily readable outside the cooler box for people passing by.
Awning temperature
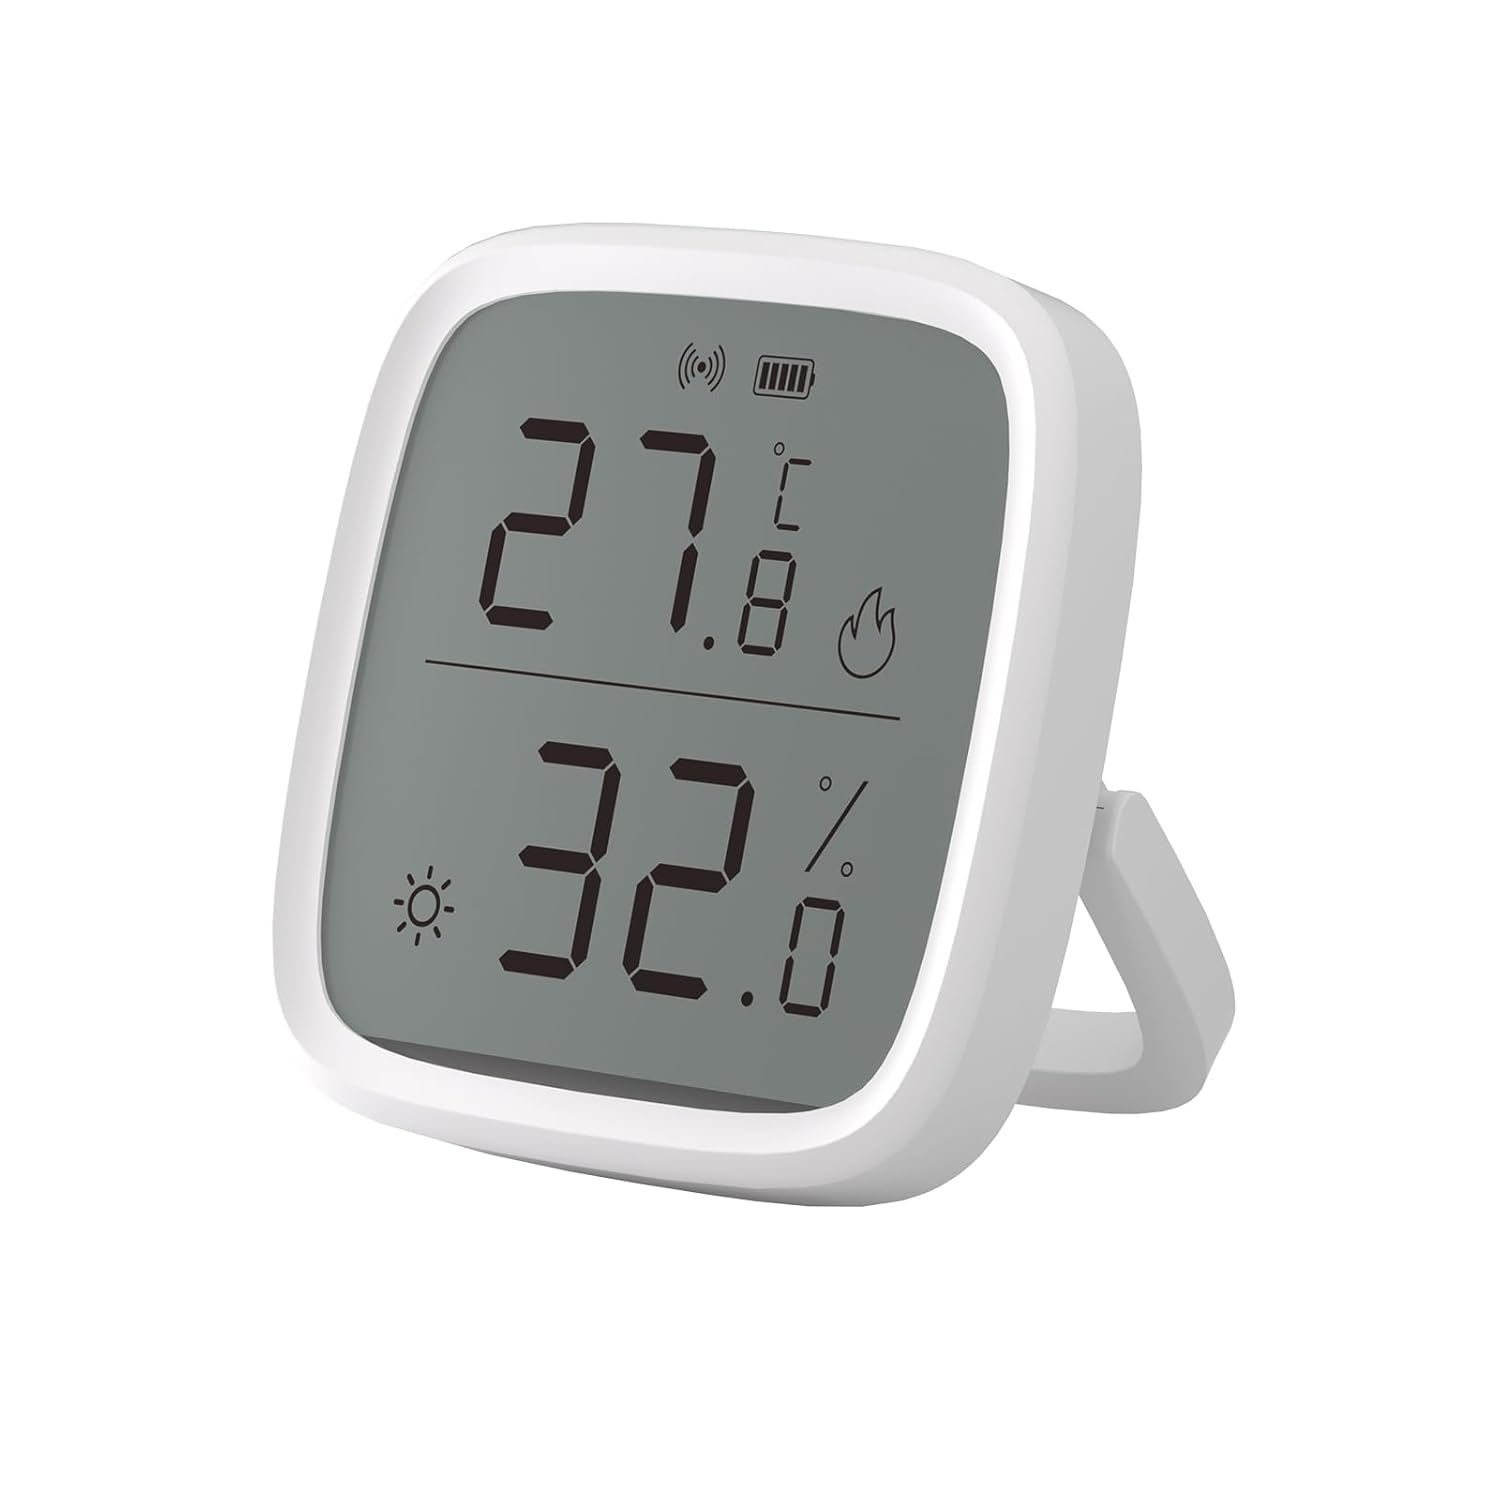 “Look at how hot it is!” :P. Between the caravan, the awning and outside, the temperature can differ greatly. I placed a Sonoff SNZB-02D in the awning to know the temperature there. In the evening this is a bit useful to see if we’re able to sit outside still.
Air quality monitoring
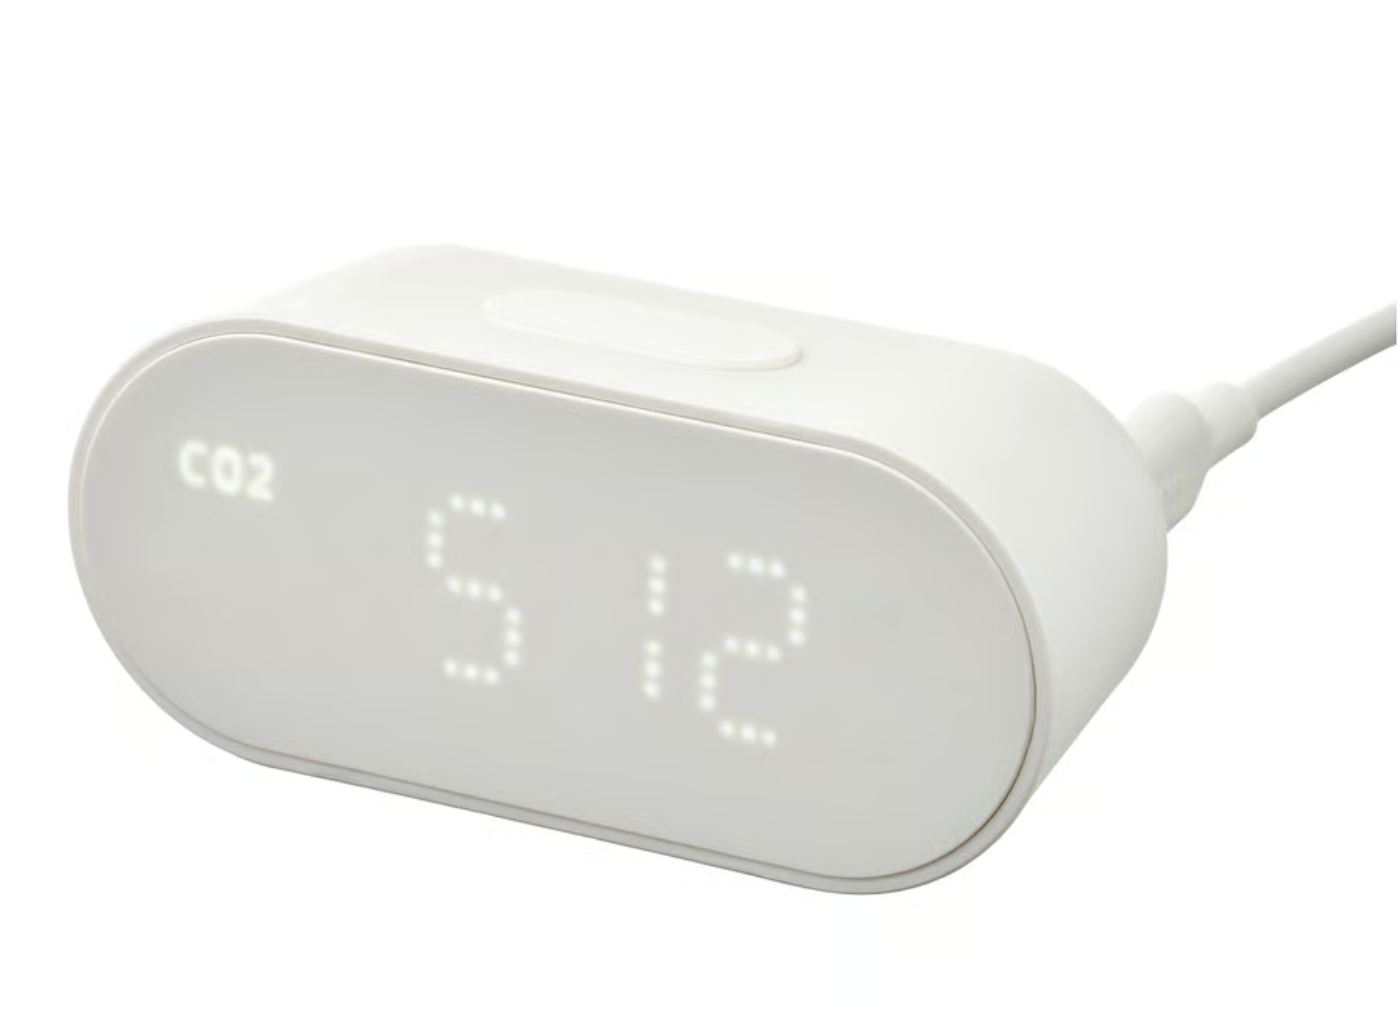 Woaah, finally! Something useful :P. Having 4 people sleeping in a small space, potentially with most of the windows closed, is almost guaranteed to have the CO2 spike to above unhealthy levels. IKEA has this really nice ALPSTUGA air quality sensor which has not only CO2, but also particulate matter (2.5 μm only), alongside temperature and humidity measuring. A cool side-feature is that it also functions as a clock. Which only started working on Home Assistant since Matter Server 9.1.0, which was only released very recently, as of the 15th of July 2026 :P. A few days before posting this article.
“Security”
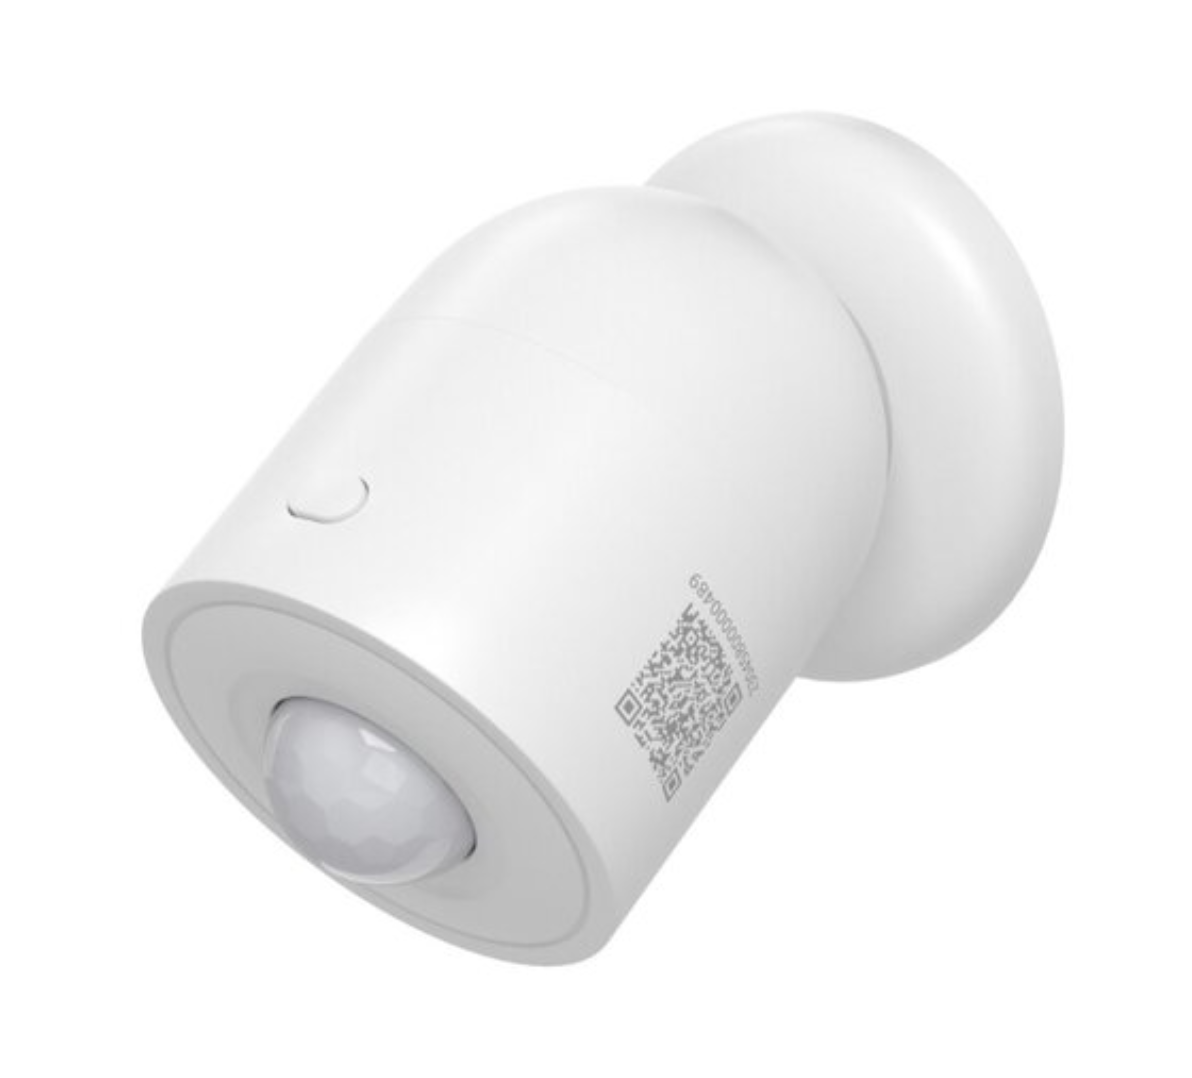 Woohoo, I also have a motion sensor: a Sonoff SNZB-03P (can you tell I’m a Sonoff fan yet?). And that’s about it. You could put window sensors everywhere but that doesn’t look that nice, and is way overkill (wait, is that an argument still here?).
I can enable a input_boolean when leaving the caravan, and when it senses motion, it will send me a message over the LoRa MeshCore network, and a push notification in the Home Assistant app.
I’d like to automatically determine when we’re at the caravan, without updating the “Home”-zone each time. I think that would work best by determining if the phone is connected to the caravan WiFi. That brings some difficulty on iOS though, as the Home Assistant app knowns the WiFi SSID it’s connected, but not the IP address, so I’m unable to determine if the phone is connected to the WiFi at home, or the caravan.
I also have a camera baby monitor lying around which I’m using sometimes when away, but it doesn’t record. And even if it did, it would do that on its own SD card. The need for camera recordings though… I think this is fine for now.
Further ideas
Ok, so all of this has only been running for a few weeks now. And it still all works :P. So I have some ideas to extend it.
I’m replacing the power supply of the caravan soon, because I want to have stable 12V DC. The current 20 year old power supply is just a FULL BRIDGE RECTIFIER (someone call Mehdi!) for the DC part, producing a sawline DC voltage somewhere around 12v. I’m also adding power metering while at it.
I also want to monitor fresh water tank level (actually requested feature :P), because filling/checking it is a bit cumbersome now. And I’d like to have an eInk screen showing the CO2 levels of the night, current temperatures, power consumption, water level, etc.
Closing
You’ve reached the end of another way too long article. Impressive. Thank you for reading along and I hope you enjoyed this article, or that it was helpful to you in some way. If you’ve been triggered by the bad networking practices, have suggestions for improvements, or just for whatever reason, feel free to reach out to me directly or leave a comment. 
Leave a comment